Smart
Air
Powered by a Raspberry Pi, SmartAir is a custom-made accessory designed to transform a box air conditioner into an iOT (Internet of Things) controllable system. The box AC unit has a knob that needs to be physically turned in order for the air conditioner to be switched on or off. Once connected, the AC automatically turns on and off on a schedule and can be toggled from anywhere with an internet connection.
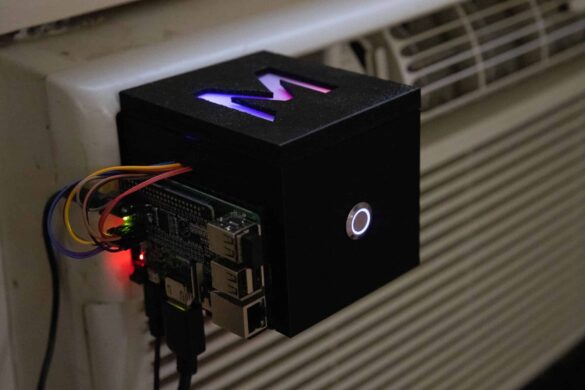
Concept
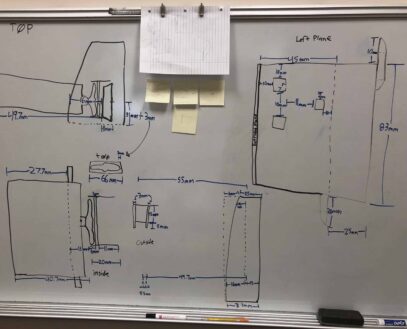
Part 1: Design
Before I started, I needed to take precise measurements of my box air conditioner. Measure twice, print once. The more accurate my measurements, the less material cost and time to print.
Part 2: 3D Modeling
To create a model based on my design, I used a free 3D modeling website called Tinkercad. This let me export my model into individual 3D object files for each of the parts. The model pictured on the right displays how its parts fit together; it is comprised of four sides and a mount for the Raspberry Pi.
Part 3: Printing
Using a MakerBot, the object files can be loaded onto the printer via its software and printed. Each part took varying amounts of time to print, ranging from twelve minutes to three hours.
Part 4: Proof of Concept
To start, I printed one side with the servo mount and the part that covers the knob that attaches to the servo. To test if the servo had enough torque, I ran a simple program to turn it on and off again. Seeing that everything worked smoothly, I could then print out the rest of the parts and write the software to automate it.
Creation
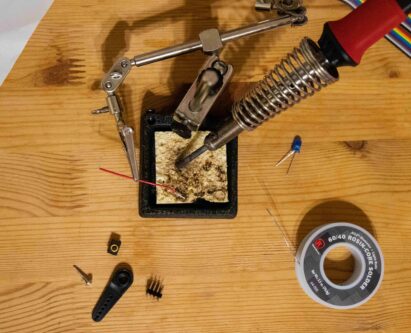
Hardware
In addition to the list of parts, I also needed a few tools to complete this project. I had access to a 3D Printer through my university, along with the ABS plastic to print the parts. Already having a soldering iron and solder from previous projects, I could start assembling right away.
Hardware: Extra Features
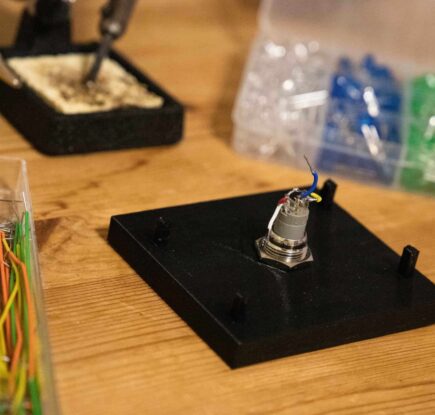
Instead of just having the servo communicate solely with the Pi via a smartphone, I decided to add a button to the front of the device. This way, the AC could still be turned on and off manually, even though the 3D printed enclosure completely covers the knob. I also added both a red and blue LED that not only makes the device 10x cooler, but also can be turned on and off to signify switching the AC on and off.

Software
For this project I decided to work in Python, as it has many packages that make it easy to work with on a Raspberry Pi. The program is separated into three different modules, the first of which is Server.py which continually runs on the Pi and controls the servo, button, and LEDs. Client.py sends commands to the Server whenever a network request comes in that turns on/off or changes the mode to home/away. Scheduler.py also is running in the background to automatically call the client to turn on/off the AC based on the time.
Server.py
The Server module controls all hardware components such as the button, LEDs, servo bonnet and servo. To accomplish this it defines several functions to change its behavior.
Home & Away Modes
To put the smarts into SmartAir, the program has two modes: home and away. First, when the away function is called, the server turns the AC off if it is not already. It will also stop the schedule from running and turning the AC on when you aren't at home. The LEDs will also completely turn off to signify this mode is active.
On the other hand, home mode will reactivate the schedule to automate cooling the apartment. This will turn the LEDs back on to show that home mode is on.
The LEDs are used in various ways in the code above and throughout the module. They are faded up and down individually, together, alternating to create the startup and switched state/mode animations. The code for controlling the LEDs can be found here.
Client.py
The Client serves as a middle man between the user's device (such as a smart phone) and the device itself. It takes network requests and calls the appropriate functions on the Server module.
Scheduler.py
The Scheduler module is a type of client of its own, although instead of a user making requests, it acts as a bot, sending commands directly to the Server module.
Testing
Hardware Check
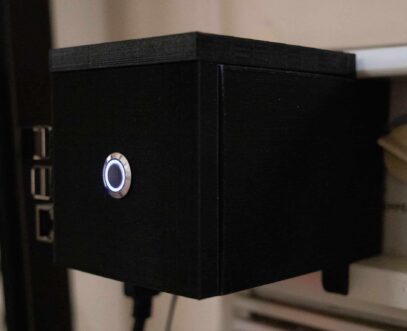
All of the separate 3D printed sides fit together seamlessly and securely fits on the AC unit without any adhesive. Similarly, the button, LEDs, servo, and Raspberry Pi all fit nicely into place, is wired correctly and powers on.
Shortcuts
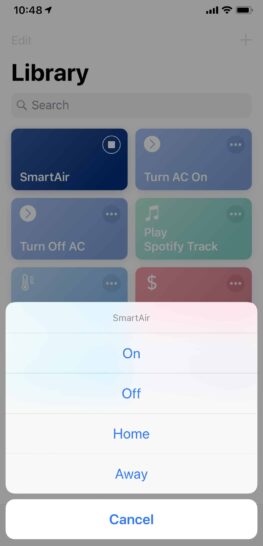
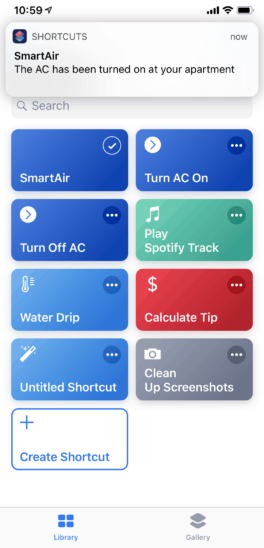
On iOS, Shortcuts is an easy way to automate tasks. Here it is used to call the Client module and call one of the four functions.
Siri
Shortcuts also make it easy to set up voice commands with your workflows. Here saying, "Hey Siri, turn on my air conditioning." will run the Client to turn it on.
Notifications
In Server.py each of the functions return a message. This message tells the user the status of their request.
Software Check
In addition to the four options running as expected from a smart phone, the button works and LEDs all fade in and out turning on and off.
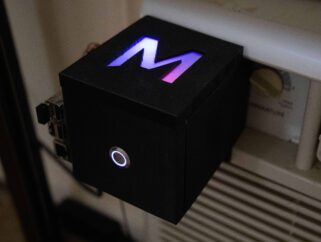
This project has been a lot of fun and I got to learn many new things in the process. In addition, since its creation, this devise has paid for itself several times over, saving me about 40% on my electric bill.